Practical mastering IBM MQ basics
Performance evaluation (4) Schedule execution
*This series may be revised based on the latest mqpgf/mqpcf. Please always download and use the latest version.
At the end of the explanation of the performance measurement method, we will introduce the scheduled execution of the test list. Ideally, performance measurements should be performed while other systems sharing the machine and/or the network are not in use or running. If the source, response, and client machines could synchronize the timing and automatically run the test list at any time, it would be convenient to not have to be present during the test.
*This chapter explains how to execute JOB using CRON (Linux/HPE NonStop), Task Scheduler (Windows), and NetBatch (HPE NonStop). However, it does not explain the details of the scheduler itself. For details on the scheduler, please refer to the OS manual as needed.
Using CRON(Linux、HPE NonStop)
For Linux, CRON is available as standard.
CRON is a daemon process that executes scheduled commands.
HPE NonStop can also use CRON with OSS (Open System Service).
If the usage environment is not set up on the HPE NonStop system, use NetBatch (HPE NonStop Server's job management subsystem) or refer to the OS side documentation and configure CRON to be available.
Sample CRON job registration
Below is a sample for registering the RR-1 test list (RR-1s.csv) on Linux, but the procedure is the same for other test lists.
Bold text is the part added from the default when displaying/editing job schedule execution with the crontab command.
$ crontab -l #!/bin/sh HOME=/home/mqm/script_s # Example of job definition: # .---------------- minute (0 - 59) # | .------------- hour (0 - 23) # | | .---------- day of month (1 - 31) # | | | .------- month (1 - 12) OR jan,feb,mar,apr ... # | | | | .---- day of week (0 - 6) (Sunday=0 or 7) OR sun,mon,tue,wed,thu,fri,sat # | | | | | # * * * * * user-name command to be executed 33 13 17 3 * source ./runpfmts.env && ./runpfmts.sh PLQMS list/RR-1s.csv out/RR-1s.out > runpfmts_`date +\%Y\%m\%d_\%H\%M`.log 2>&1
Job schedules are registered using the crontab command.
Here, we briefly explain the definition contents and the definition method of the above sample.
*For details on the crontab command and schedule definition format, please refer to the manual for your OS.
Normally CRON is registered separately for each user who registered the schedule, specifically for each user who executed "crontab -e".
For example, if you execute "crontab -e" as the mqm user, write a job definition, and save it, a file with the user name (mqm) is generally created under /var/spool/cron.
The contents of this file are the same as those seen with crontab -l.
CRON job registration method
Execute "crontab -e" as the user who executes the job to start the job registration editor. Operation is the same as vi.
$ crontab -e # Example of job definition: # .---------------- minute (0 - 59) # | .------------- hour (0 - 23) # | | .---------- day of month (1 - 31) # | | | .------- month (1 - 12) OR jan,feb,mar,apr ... # | | | | .---- day of week (0 - 6) (Sunday=0 or 7) OR sun,mon,tue,wed,thu,fri,sat # | | | | | # * * * * * user-name command to be executed
When CRON executes a job, it is usually executed by the user who registered the job, and the home directory at that time is that user's home directory. In this example the running user is mqm and its home directory is /home/mqm. The performance measurement environment is created in /home/mqm/script_s, so add the following to the top of the display to change the home directory.
HOME=/home/mqm/script_s
The first part of the command to be executed is the date and time to be started.
In the example below, it is 13:33 on March 17th.
33 13 17 3 * ...
The performance measurement script invokes the MQ application mqpgf(c).
Therefore, it is necessary to load the MQ installation environment before execution.
By default, when a job is run from CRON, the executing user's login script (such as .bash_profile) is not loaded.
A login script can be loaded, but settings that are not directly related to job execution may also be read, and job execution may be affected by changes unrelated to the job.
Therefore, here, the login script is not loaded, and only the settings necessary for executing the job are loaded.
It's the part below.
... source ./runpfmts.env ...
The following is the contents of the file, adding the location where mqpgf is located (/home/mqm/bin) to PATH and loading the MQ installation environment by "setmqenv -s".
$ cat runpfmts.env PATH=$PATH:/home/mqm/bin . /opt/mqm924/bin/setmqenv -s
Next, the performance measurement script is started by connecting commands with "&&". Standard output and standard error are output to runpfmts_YYMMDD_HHMM.log. "2>&1" at the end is a specification to redirect the standard error to the standard output.
&& ./runpfmts.sh PLQMS list/RR-1s.csv out/RR-1s.out > runpfmts_`date +\%Y\%m\%d_\%H\%M`.log 2>&1
Monitor the runpfmts_yyyymmdd_HHMM.log file to see the end of the run. The output result when the execution is performed normally is the same as the screen display of "Running a test list containing only RR-1 Linux, HPE NonStop", so the explanation is omitted.
Using Task Scheduler(Windows)
Windows has the task scheduler available as a standard feature.
Operation is also possible with GUI.
If you use the method shown here as an example, it will only work on the primary installation if you have multiple MQ versions installed on your Windows machine.
*The primary installation can be changed by using the setmqinst command.
Please refer to the MQ product manual for specific change methods and details of precautions.
Also, it is necessary that mqpgf(c) can be referenced by the PATH environment variable.
Depending on the test configuration, if there are other environment variables(MQCCSID, etc.) required for using MQ, add settings to the OS side in advance.
The sample of Task Scheduler registration
Below is a sample run registration for the RR-1 test list (RR-1s.csv), but the procedure is similar for other test lists.
The way to open the Task Scheduler may differ slightly depending on your Windows edition.
Two methods, a and b, are shown below.
a.「Start」-「Windows Administrative Tools」-「Task Scheduler」
| 「Start」-「Windows Administrative Tools」 | 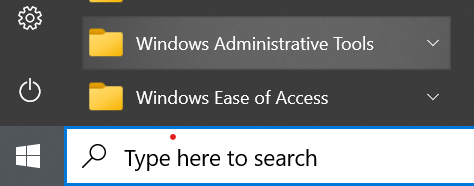 |
| 「Task Scheduler」 | 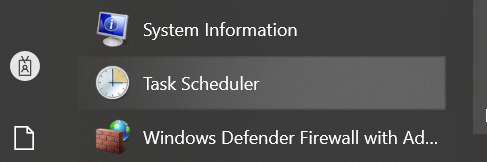 |
b.「Control Panel」-「Administrative Tools」-「Task Scheduler」
| 「Control Panel」 |  |
| 「Administrative Tools」 | 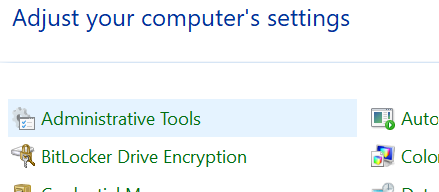 |
| 「Task Scheduler」 | 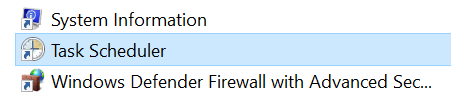 |
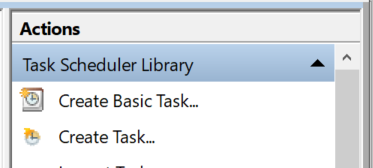
Once Task Scheduler is open, click on “Create Basic Task...” at the top of the right pane.
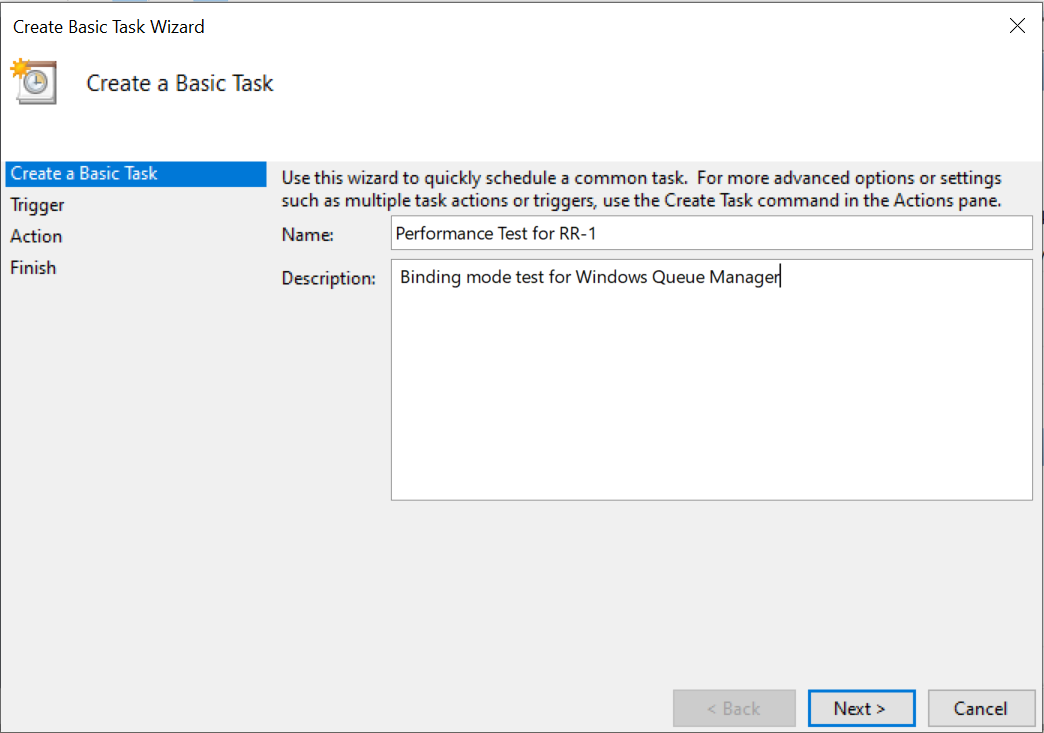
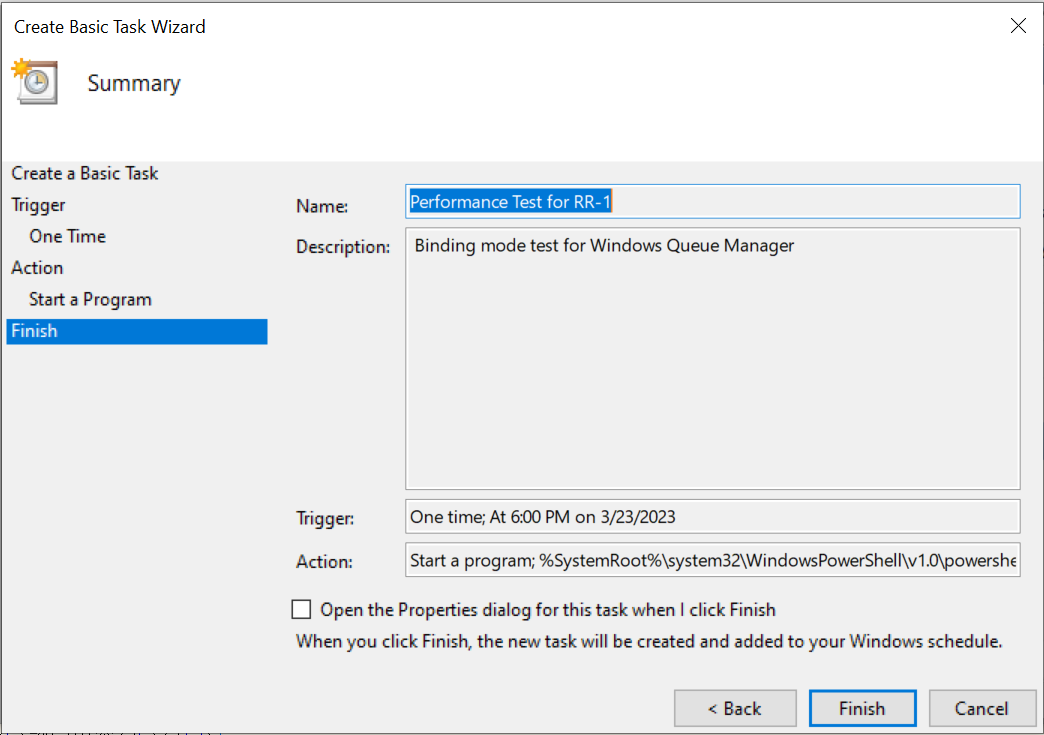
Enter any words that indicate the test contents in "Name" and "Description" and click "Next".
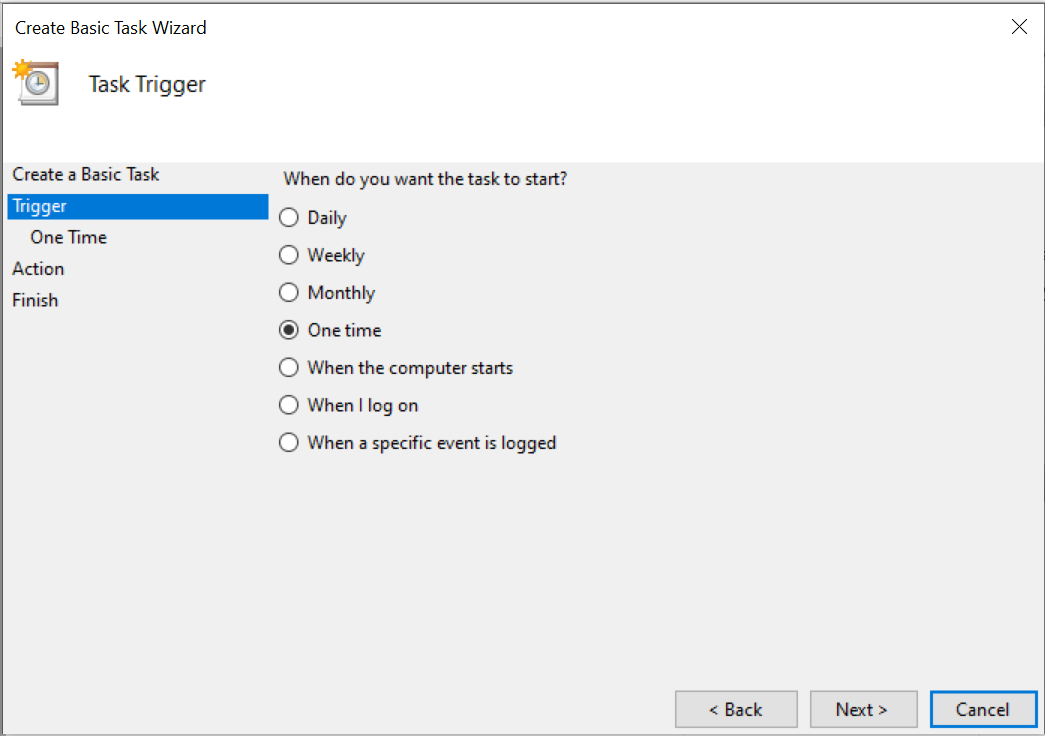
Select a start method and click Next.
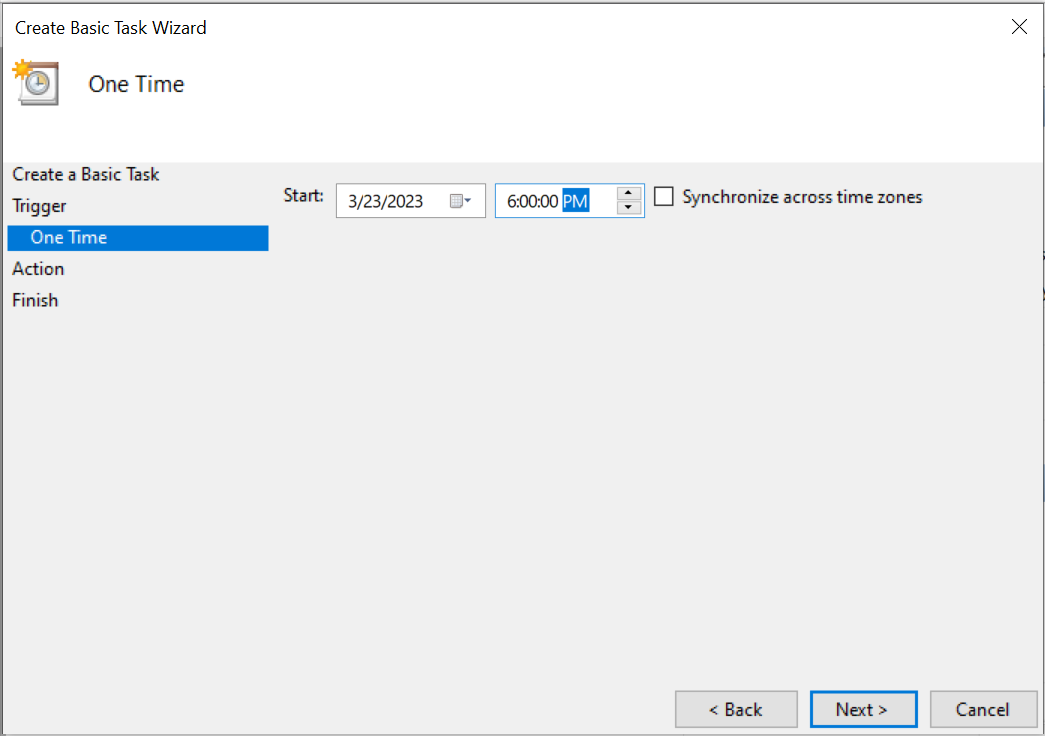
Set the start time and click "Next".
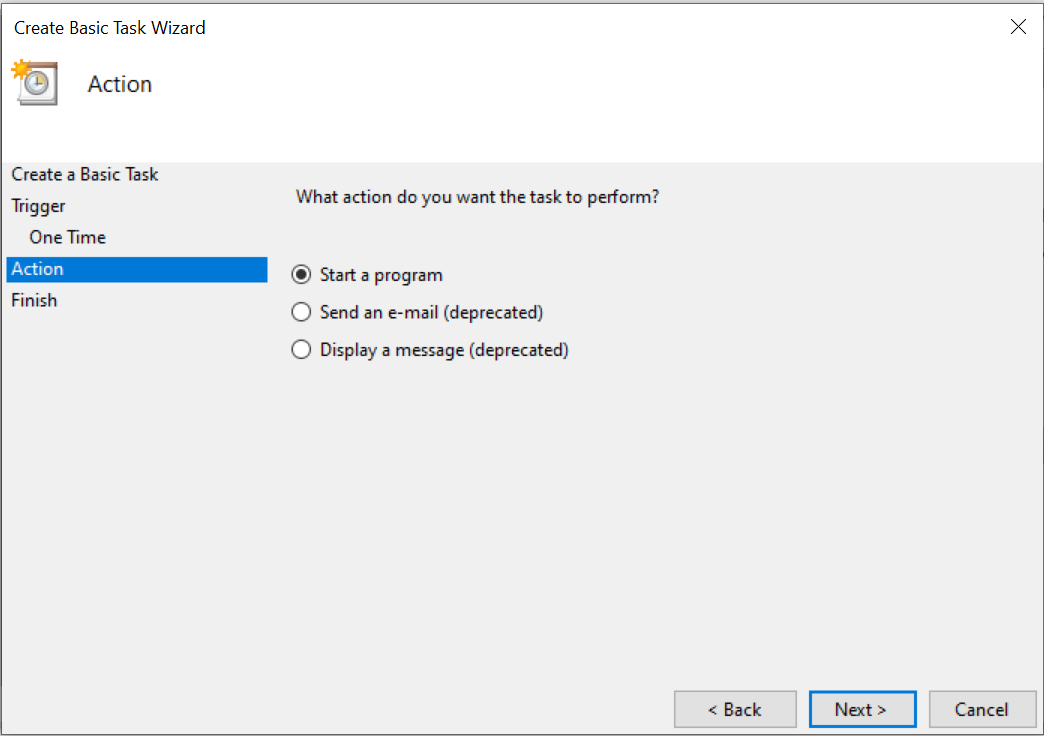
Select "Start a program" and click "Next".
Specify the run command in the "Start a Program" window.
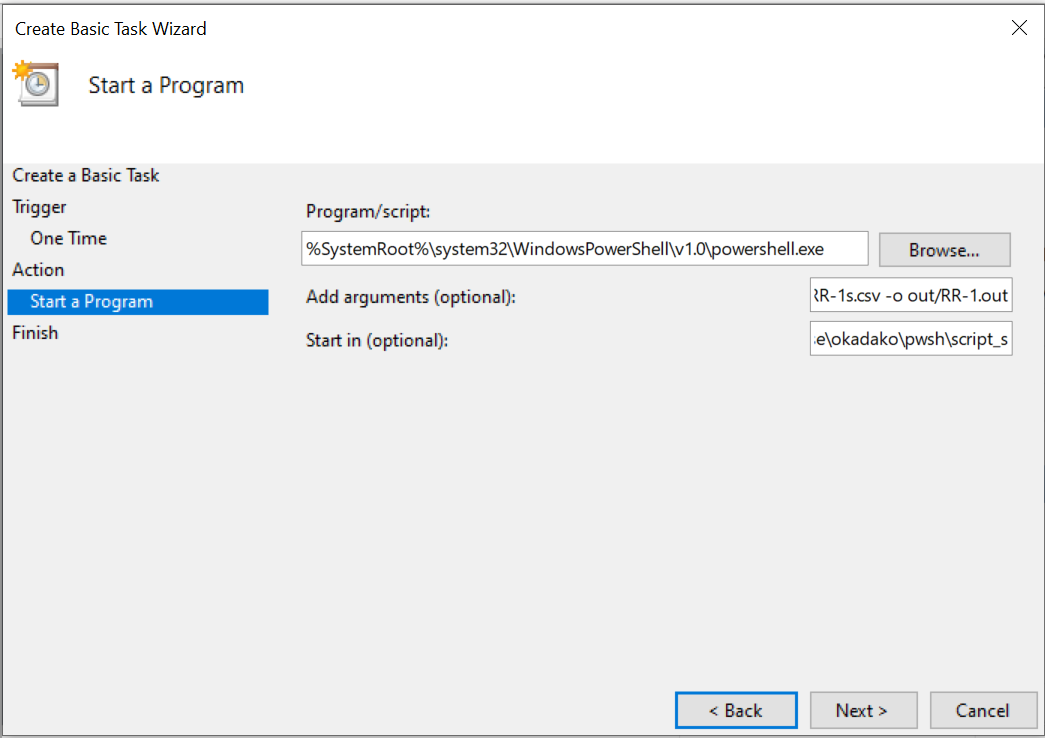
The following is an example.
Program/script: %SystemRoot%\system32\WindowsPowerShell\v1.0\powershell.exe Add arguments (optional): -NoExit -File ./runpfmts.ps1 -m PLQMS -i list/RR-1s.csv -o out/RR-1.out Start in (optional): C:\pwsh\script_s
| Program/script: | Specifies the location of powershell.exe to use. |
| Add arguments (optional): | Specify the command line for runpfmts.ps1. -NoExit is an option to not terminate PowerShell so that you can check the execution result on the screen when the test is completed. |
| Start in (optional): | Specifies the directory in which Job is executed. The path specified for "-i" and "-o" in runpfmts.ps1 is either an absolute path or a relative path from the directory specified in this "Start in". Be sure to add "./" before runpfmts.ps1 even if it is in the same directory. |
After specifying, click "Next".
Check that the display on the "Summary" screen is correct and click "Finish".
Select “Task Scheduler Library” in the left pane to display the created task in the center.
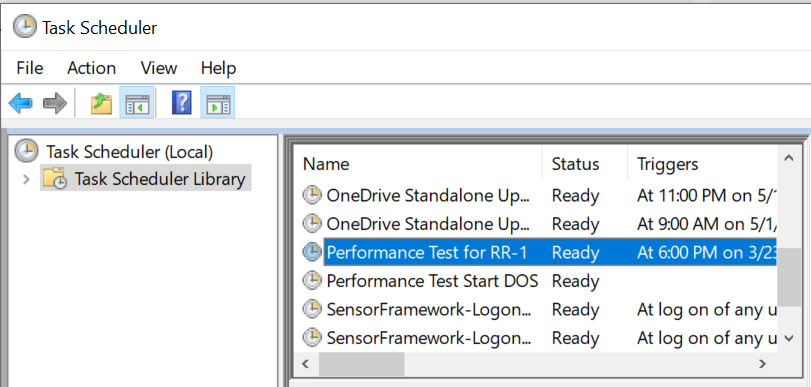
At the scheduled time, a PowerShell window will open and runpfmts.ps1 will start.
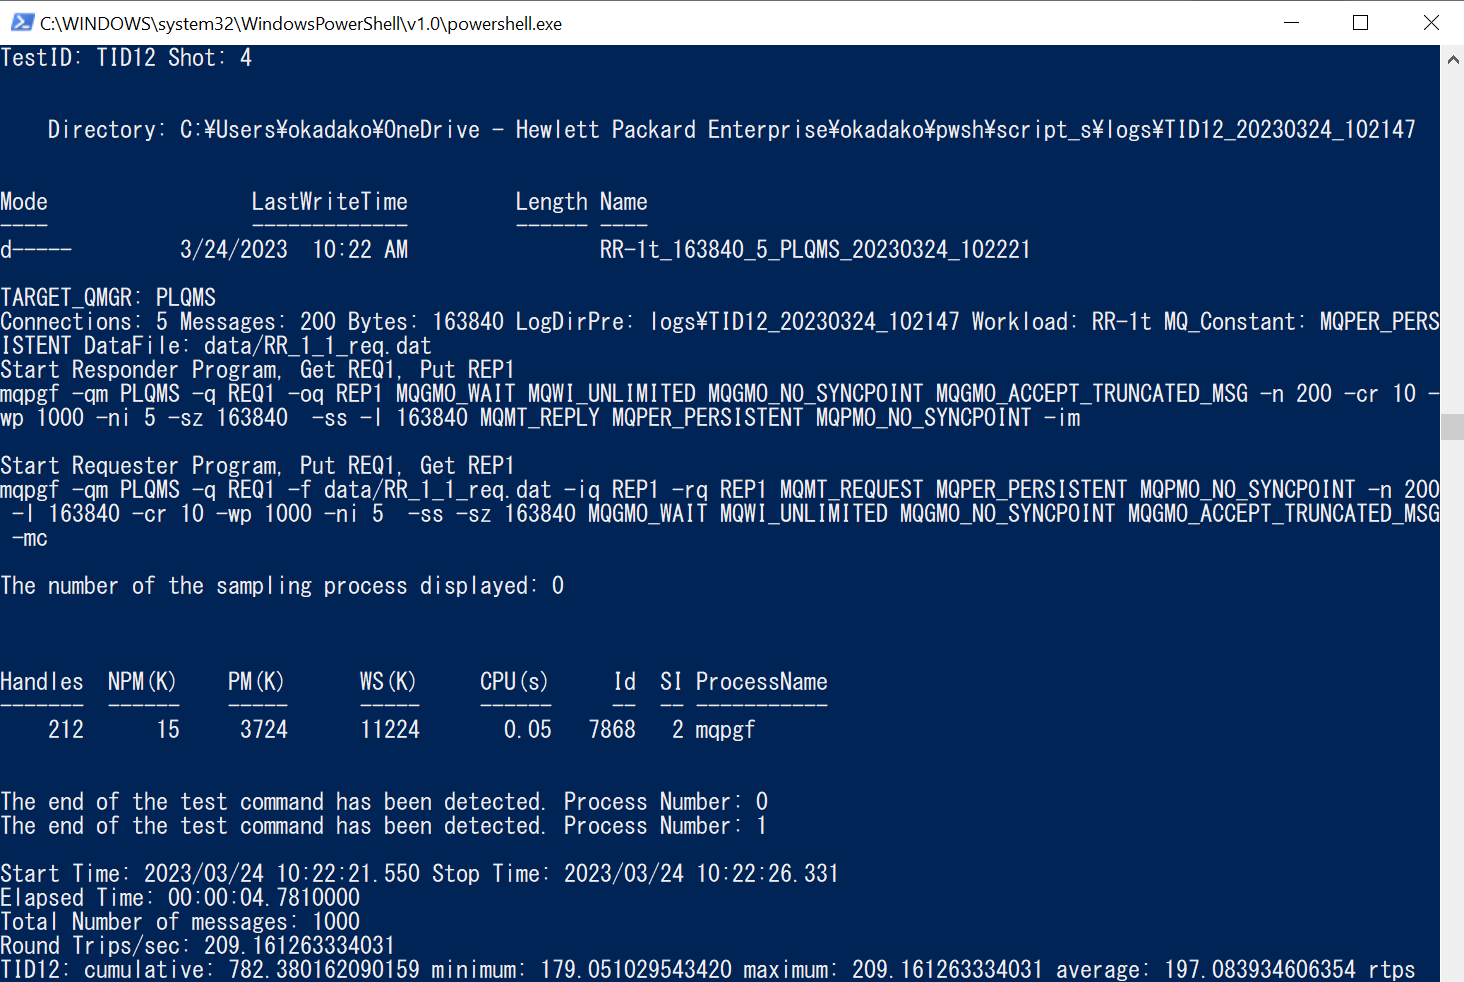
The output result when the execution is performed normally is the same as the screen display in "Run a test list containing only RR-1 Windows", so the explanation is omitted.
After confirming the completion of Job execution, manually save the log displayed in the PowerShell window if necessary.
Using NetBatch(HPE NonStop)
With HPE NonStop, the aforementioned CRON can be used for Job schedule execution, but it is common to use NetBatch(HPE NonStop Server's job management subsystem), which has higher functionality.
There are multiple ways to define this, but here is an example of how to configure it.
[ NetBatch run configuration ]
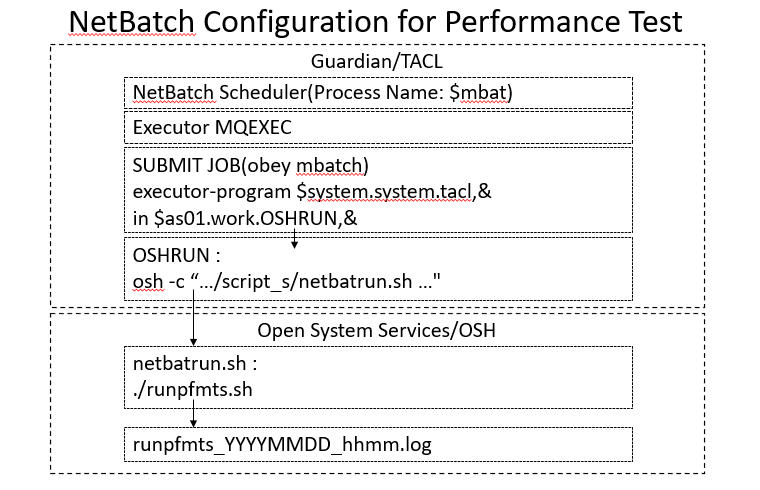
In this sample, we create three files for job execution. They are "mbatch" which registers the job, "OSHRUN" which is called from the executor and "netbatrun.sh" which sets up the necessary environment and calls runpfmts.sh located in .../script_s.
The figure below shows an overview of the sample configuration.
Following is a brief description of each component.
| Component | Description |
|---|---|
| NetBatch Scheduler(Process Name: $mbat) | NetBatch Scheduler Process |
| Executor MQEXEC | Program that executes JOB |
| SUBMIT JOB(obey mbatch) | The Job is defined using obey files(mbatch) |
| OSHRUN | The file executed from TACL. OSH launches netbatrun.sh. |
| netbatrun.sh | Set up the execution environment and invoke runpfmts.sh. |
| runpfmts.sh | Performance measurement script |
| runpfmts_YYYYMMDD_hhmm.log | Performance measurement script execution status log |
[ NetBatch Configuration Instructions ]
Here are the steps.
Below is a sample run registration for the RR-1 test list (RR-1s.csv), but the procedure is similar for other test lists.
For details on NetBatch commands, please refer to the OS documentation.
Creating the NetBatch Scheduler Process
First, run the netbach command with a login as MQM.MANAGER to create a scheduler process. It is necessary to decide the volume.subvolume that the scheduler uses as work.
TACL> netbatch /name $mbat,pri 150,cpu 1,term $zhome,nowait/ $
*Option descriptions
name $mbat: Specify scheduler process name to $mbat
pri nnn: scheduler process priority
cpu n: CPU to start the scheduler process
term $zhome: Set process home terminal to $zhome
nowait: Returns the command prompt after starting the process.
$<vol>.<subvol>: scheduler work
!: indicates a cold start
EMS: Enable generation of EMS event messages.
After issuing the command, confirm that netbatch has started successfully.
*The scheduler process runs in a process pair, but backup is not yet started at this point.
Backup will start after "Preparing the scheduler" (described later) is completed.
TACL> status $mbat System \xxxx Process Pri PFR %WT Userid Program file Hometerm $MBAT 1,718 150 P 001 255,255 $SYSTEM.SYSTEM.NETBATCH $ZHOME Swap File Name: $SYSTEM.#0 Current Extended Swap File Name: $SYSTEM.#0 Library File Name: $SYSTEM.SYSTEM.BATCHLIB
Preparing the scheduler
Then run the following commands in succession to get the scheduler ready.
TACL> batchcom $mbat ... 1} reset scheduler 2} assume scheduler 3} add scheduler Scheduler added 4} start scheduler Scheduler started
*Command descriptions
reset scheduler: Remove scheduler attributes from BATCHCOM's work attribute set
assume scheduler: set default object keyword for command to scheduler
add scheduler: create and initialize the scheduler database
start scheduler: Prepare to use the scheduler.
A scheduler backup process is created and the database files are also opened.
After issuing "start scheduler", verify that the backup process has started.
TACL> status $mbat System \xxxx Process Pri PFR %WT Userid Program file Hometerm $MBAT 1,718 150 P 001 255,255 $SYSTEM.SYSTEM.NETBATCH $ZHOME Swap File Name: $SYSTEM.#0 Current Extended Swap File Name: $SYSTEM.#0 Library File Name: $SYSTEM.SYSTEM.BATCHLIB $MBAT B 0,595 150 P 001 255,255 $SYSTEM.SYSTEM.NETBATCH $ZHOME Swap File Name: $SYSTEM.#0 Current Extended Swap File Name: $SYSTEM.#0 Library File Name: $SYSTEM.SYSTEM.BATCHLIB
Executor preparation
Next, run the following commands in succession to prepare the executor.
TACL> batchcom $mbat ... 5} add class mqpfmts Class MQPFMTS added 6} add executor mqexec,class mqpfmts,cpu 1 Executor MQEXEC added 7} start executor mqexec Executor MQEXEC started 8} exit
*Command descriptions
add class mqpfmts: Add scheduler class mqpfmts
add executor mqexec,class mqpfmts,cpu 1: add scheduler executor and specify CLASS and CPU attributes
start executor mqexec: Make the added executor mqexec available for jobs.
Submit JOB
Submit a JOB to run.
Depending on the environment, it may be necessary to execute as a user in the super group.
In that case, change the execution user to mqm.manager with CHANGEUSER when registering the JOB.
Below is a sample of obay for JOB registration.
TACL> fup copy mbatch CHANGEUSER mqm.manager SUBMIT JOB mqpfmts-job,& CLASS mqpfmts,& executor-program $system.system.tacl,& in $<vol>.<subvol>.OSHRUN,& out $s.#mqpfmts,& after 18:00,& highpin on,& restart off,& stall off,& stop-on-abend on,& waiton 13 RECORDS TRANSFERRED
*Command and option decriptions
CHANGEUSER mqm.manager: Specify the execution user to mqm.manager(required when registering as a super group user)
SUBMIT JOB mqpfmts-job: Submit job mqmpfmts-job
CLASS mqpfmts: Specify mqpfmts as the scheduler class
executor-program $system.system.tacl: Specify TACL for the executor program
in $<vol>.<subvol>.OSHRUN: specify OSHRUN for the file to be executed by TACL
out $s.#mqpfmts: Specify output spooler
* In this example, the default spooler $s is specified, but in general, prepare and specify a spooler dedicated to JOB.
after hh:mm: Specifies the job execution time
*For details on other options, refer to the documentation on the OS side.
Below is the OSHRUN script called from the executor.
OSH invoked netbatrun.sh.
Standard output is discarded to /dev/null.
TACL> fup copy OSHRUN osh -c ".../script_s/netbatrun.sh" <- >/dev/null 2>/dev/null 1 RECORDS TRANSFERRED
netbatrun.sh is as follows.
$ cat netbatrun.sh
#! /bin/sh
. <mqinstall directory>/var/mqm/mqprofile
export PATH=$PATH:
Lording mqprofile and setting up the MQ installation environment, adding the reference path to mqpgf(c), setting the environment variable for EMS output, and setting the reference to the license file of mqpgf(c), change the directory to .../script_s and invoke runpfmts.sh.
The standard output and standard error resulting from execution are redirected to runpfmts_YYYYMMDD_hhmm.log in the runpfmts.sh deployment directory (.../script_s in this example).
Once the above files are ready, submit the job.
Confirm that "Job MQPFMTS-JOB Jobnumber 1 submitted" is displayed.
TACL> logon super.xxxx TACL> batchcom $mbat ... 1} obey mbatch CHANGEUSER mqm.manager SUBMIT JOB mqpfmts-job,& CLASS mqpfmts,& executor-program $system.system.tacl,& in $<vol>.<subvol>.OSHRUN,& out $s.#mqpfmts,& after 18:00,& highpin on,& restart off,& stall off,& stop-on-abend on,& waiton Job MQPFMTS-JOB Jobnumber 1 submitted
Monitor the runpfmts_yyyymmdd_HHMM.log file to comfirm run completion. The output result when the execution is performed normally is the same as the screen display of "Run a test list containing only RR-1 Linux, HPE NonStop", so the explanation is omitted.
This completes the individual descriptions of how to submit a JOB to the standard job scheduler for each platform.
Scheduled execution linked across multiple platforms
The system may not have an advanced scheduler that allows close coordination between multiple platforms, and it may not be possible to consider/implement special cross-platform system coordination methods.
However, it is possible to measure performance in conjunction with the entire system using only the standard job schedulers of each platform introduced here.
We have already described how to conduct performance measurements using a test list containing all workloads using HPE NonStop as the source server, Linux as the response server and Windows as the client machine in "Run a test list containing all workloads".
All that's left now is to start each one with a scheduler.
Here are some points to keep in mind when scheduling.
| Time synchronization across platforms | Even if a time server environment such as an NTP server is not available, we recommend that you manually set the time as much as possible before conducting the test to avoid confusion. If there is a discrepancy in the system time of each machine, it will also affect analysis when a problem occurs. |
| Adjust job start times on each machine so that the receiver starts first | As I explained several times, performance measurement results are checked on the sender side. If the receiving side has not started first, the sending side will wait for the receiving side to start up, so correct measurement cannot be performed. Be sure to schedule the job execution time on each machine so that the receiver wakes up well in advance. |
| For RR-5 and PL-1, the response server job must be started before the source server job. Start the response server job well in advance. | |
| For RR-2, the job on the source server must be started before the job on the client machine. If you use a test list that measures the performance of other workloads before RR-2, allow enough time for the jobs on the client to start. This ensures that the jobs on the client are launched after those tests are complete on the source server. |
This concludes our discussion of performance measurement. As I mentioned at the beginning of the performance measurement series, the scripts and definition files used in this performance measurement sample are created very simply. Therefore, the analysis should be easy. Please feel free to customize the provided scripts and definition files to suit your needs and use them to measure the performance of your actual system.